Devil’s Food Cake
As a mom, finding the perfect dessert for girls’ night can be a delightful challenge.
You want something that’s not only delicious but also indulgent and sure to impress and pair well with a good glass of red wine.
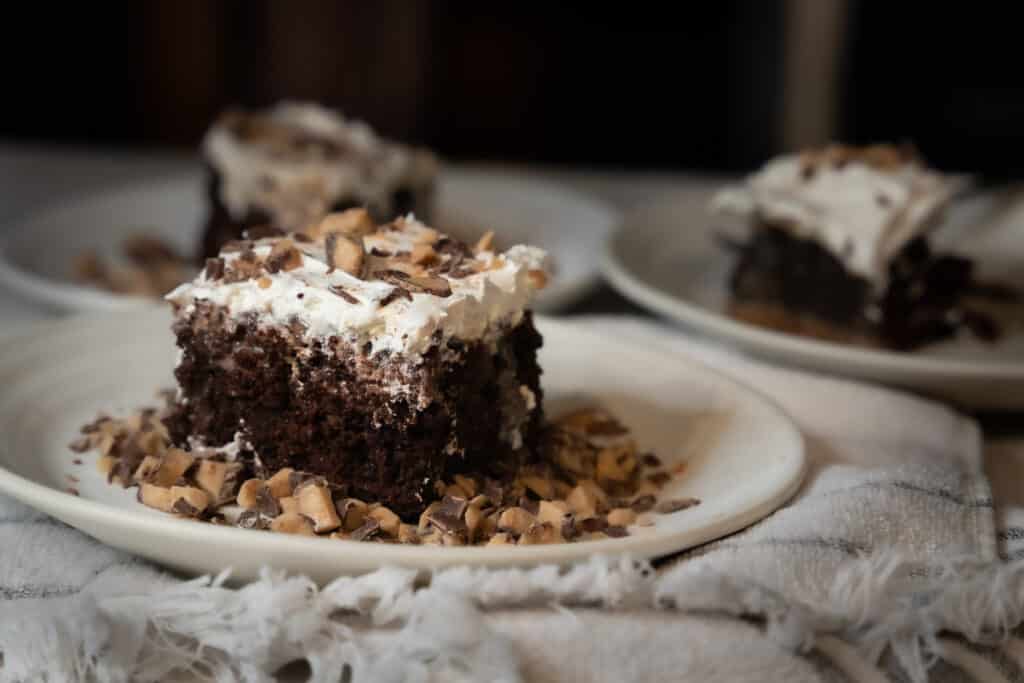
One of my go-to options is a classic Devil’s Food Cake. It’s rich, moist, and has an intense chocolate flavor that’s perfect for a cozy night in with friends.
Plus, it’s easy to make, which is always a bonus when you’re trying to juggle a busy schedule.
Table of Contents
Devil’s Food Cake vs Regular Chocolate Cake
The main difference lies in the ingredients.
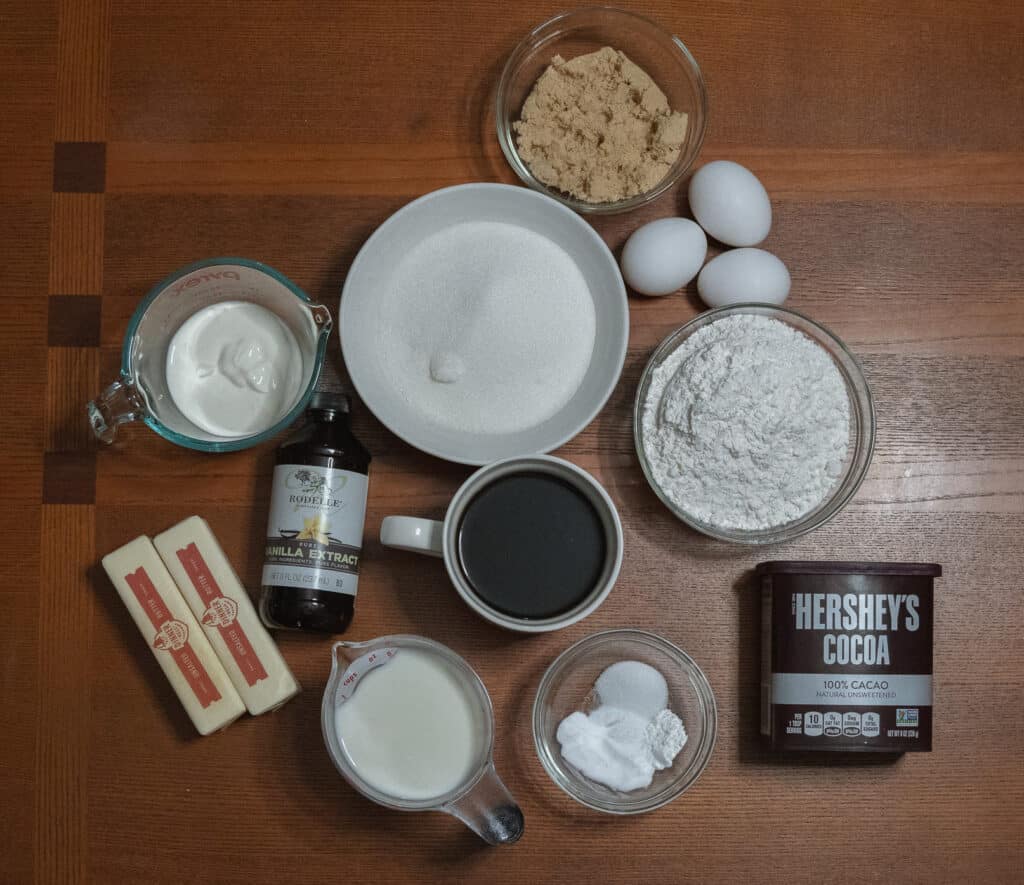
Devil’s Food Cake typically uses a higher proportion of Dutch process cocoa powder, which gives it a more intense chocolate flavor.
Dutch process cocoa powder has been treated with an alkaline solution, which neutralizes its acidity. This makes it easier to pair with other ingredients, such as baking soda or baking powder, without causing the batter to curdle.
It also tends to be lighter and more delicate in texture, with a slightly reddish hue.
Why use Hot Coffee in Devil’s Food Cake?
Well, the heat from the coffee helps to bloom the cocoa powder, intensifying its chocolate flavor.
It also adds moisture to the cake, resulting in a moist and tender crumb.
Coffee gives the recipe balance and to help amplify the flavors.
Why add Sour Cream to Devil’s Food Cake?
As for the sour cream, it contributes to the cake’s richness and adds a subtle tanginess that complements the chocolate perfectly.
The lactic acid in sour cream breaks down the proteins in the flour, making for a softer, more tender cake.
This is especially important for chocolate cakes, which are often dry and tough.
The combination of these two ingredients helps to create a cake that’s not only delicious but also incredibly moist.
How to store Devil’s Food Cake
When it comes to storing this rich chocolate cake, you’ll want to keep it in an airtight container at room temperature for up to three days.
If you’re planning on serving it later, you can also freeze it for up to three months.
Just be sure to wrap it tightly in plastic wrap and then foil to prevent freezer burn.
When you’re ready to enjoy it, simply thaw it in the refrigerator overnight and let it come to room temperature before serving.
History of Devil’s Food Cake
A beloved American dessert, has a rich and interesting history.
The cake’s origins can be traced back to the late 19th and early 20th centuries when baking powder and baking soda became widely available, making it easier to create light and fluffy cakes.
The name “devil’s food” is thought to have originated from the term “deviled,” which was used in the 18th and 19th centuries to describe spicy, rich, or dark foods like “deviled eggs”.
The addition of cocoa powder and hot coffee to the cake batter gives it a deep, rich chocolate flavor that is characteristic of devil’s food cake.
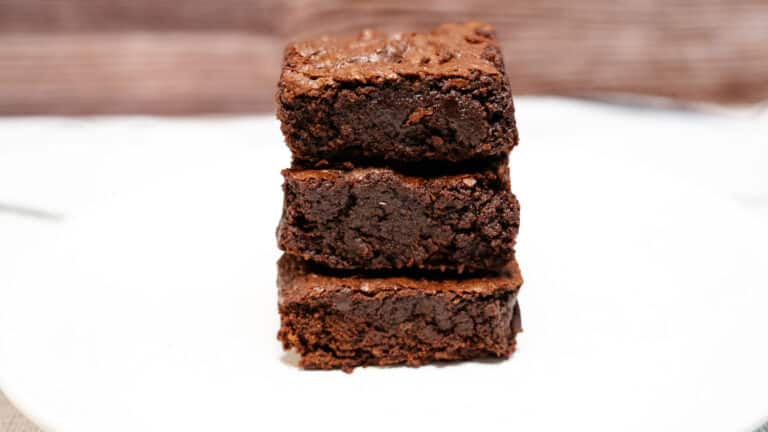
Today, devil’s food cake remains a popular choice for birthdays, celebrations, and special occasions, and has inspired countless variations, including cupcakes, cookies, and brownies.
Its rich history and delicious flavor make it a timeless classic that continues to delight taste buds around the world.
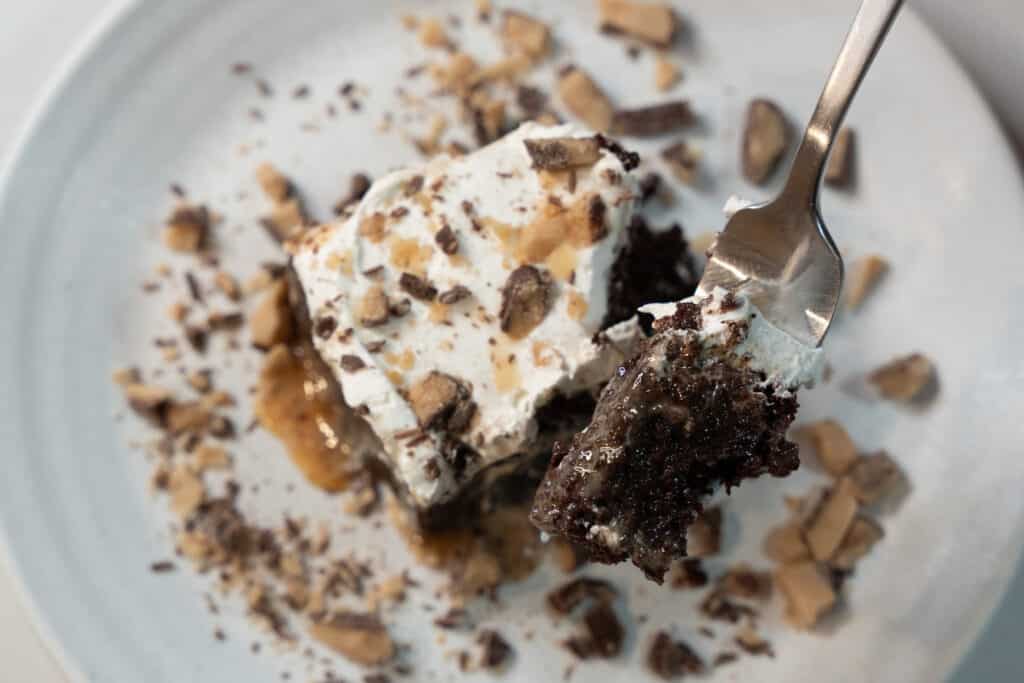
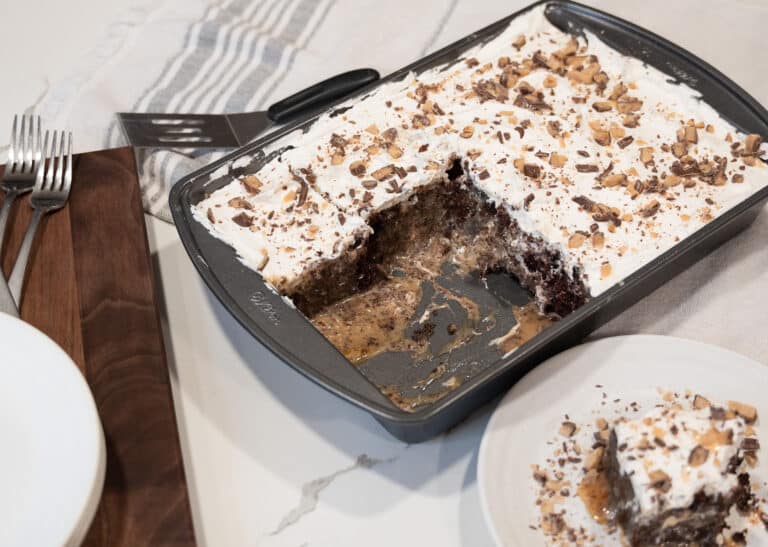
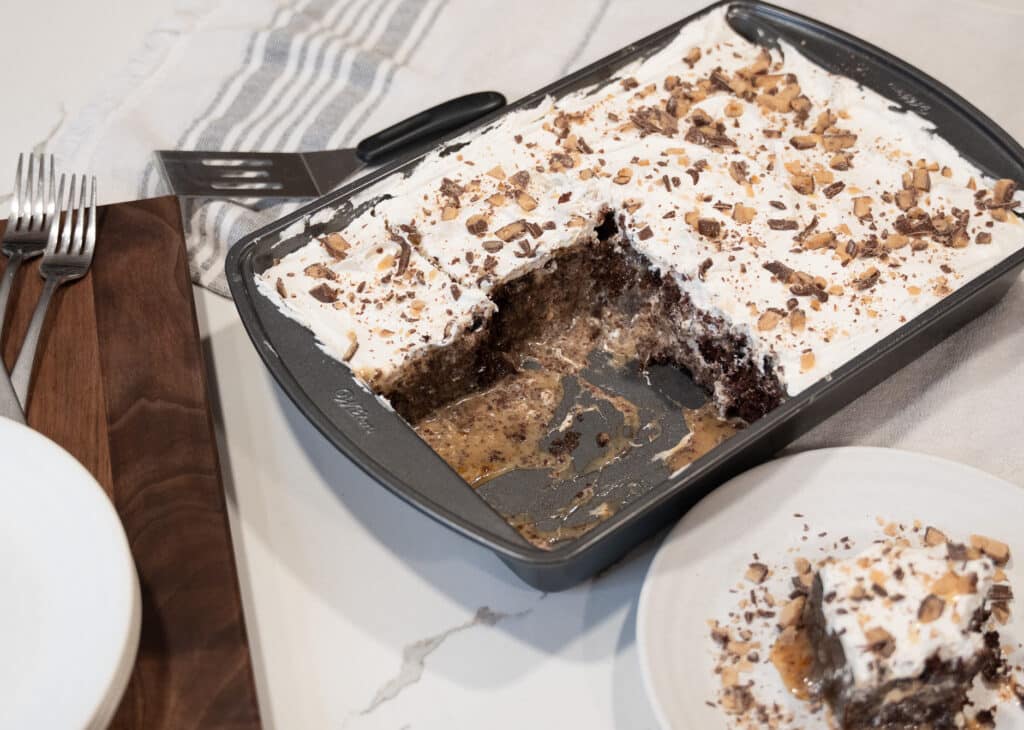
Also, try making a homemade Better than Sex Cake for your family using the Devil’s Food Cake Recipe
You won’t be disappointed!
Overall, this rich chocolate cake is a delicious and indulgent treat that’s perfect for any girls’ night.
Its intense chocolate flavor, moist texture, and rich taste make it a hit with both kids and adults alike.
So why not treat yourself and your friends to a slice of this heavenly cake the next time you’re in need of a sweet treat?
Devil’s Food Cake
Ingredients
- 2 cups Cake Flower
- 2 tsp baking soda
- 1 tsp salt
- 1 cup unsalted butter
- 1 cup Dutch Processed cocoa powder
- 1 ½ cups white granulated sugar
- ½ cup brown sugar
- 3 Large Eggs
- 1 T vanilla
- ½ cup sour cream
- 1 cup milk
- 1 cup hot coffee
Instructions
- Preheat the oven to 350F. Lightly spray a 9×13 inch baking pan with baking spray.
- In a large bowl, sift together the flour, baking soda, salt, and baking powder.
- In a large mixing bowl or the bowl of a stand mixer with the paddle attachment, add the butter and sugars. Beat on medium speed until creamy. In a medium bowl, sift the cocoa powder. Add to the butter and sugar mixture. Beat on medium speed until very light and fluffy, about 5 minutes, stopping to scrape down the bowl a few times during mixing.
- With the mixer running, add the eggs, one at a time, beating well after each addition. Stop to scrape down the bowl as needed throughout mixing. Beat in vanilla.
- With the mixer turned off, add a cup of the flour mixture followed by half of the milk and half of the sour cream. Continue to alternate between the flour, milk, and sour cream until well combined. Scrape down the bowl.
- After all the flour, milk, and sour cream are well combined carefully whisk in the hot coffee. Pour the batter into the prepared cake pan.
- Bake for 40 to 45 minutes or until the cakes are starting to pull away from the sides of the pans and a tooth pick comes out clean with a small amount of crumbs. You don’t necessarily want the toothpick to be completely clean as that can indicate the cake is too done. Let the cake cool completely in the pan.
Tried this recipe for yourself? Leave a comment and photos below!
Follow on Instagram, Facebook, Pinterest, and YouTube

