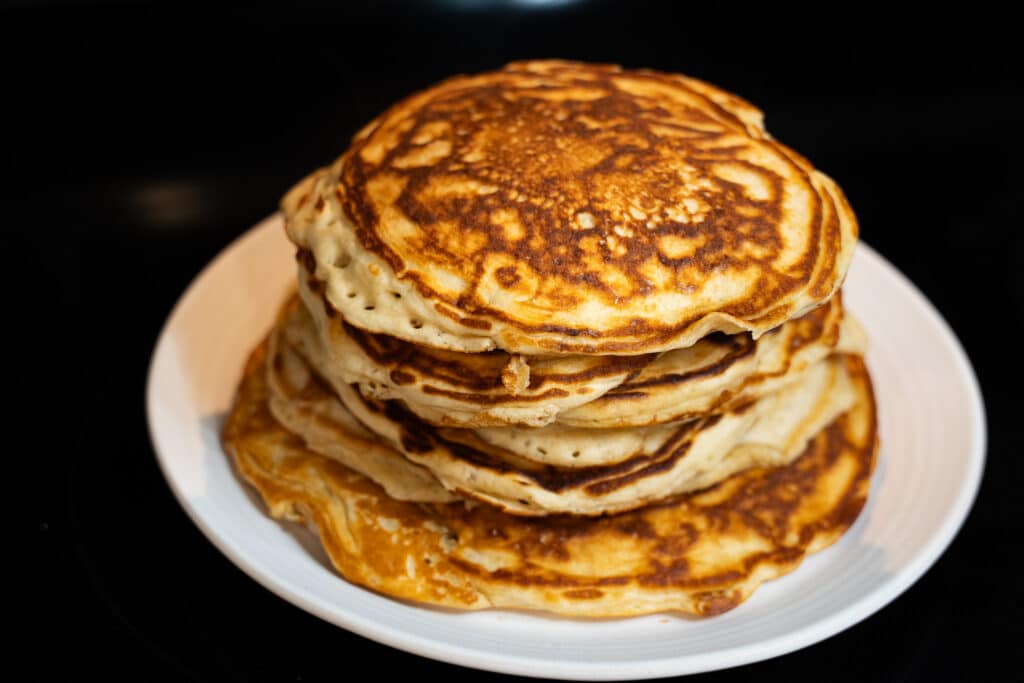
Easy, Healthy Sourdough Discard Pancakes
As a busy working mom, finding time to prepare nutritious and delicious meals for my family can feel like an impossible task.
Between juggling work deadlines, daycare drop-offs, and endless household chores, breakfast often becomes a hurried affair.
But, what if I told you there’s a way to make mornings easier, healthier, and more enjoyable with a simple, wholesome recipe?
Enter: sourdough discard pancakes.
Not only do these pancakes offer a tasty alternative to store-bought frozen options, but they also pack a nutritional punch.
Plus, they’re a fantastic way to use up that leftover sourdough starter.
Let’s dive into why sourdough discard pancakes are a game-changer for busy moms like us and how you can easily incorporate them into your meal prep routine.
Table of Contents
Why Sourdough Discard Pancakes?
First and foremost, sourdough discard pancakes are a fantastic way to reduce food waste.
If you’re an avid sourdough baker, you know that maintaining a starter often means discarding a portion to keep it healthy.
Instead of tossing it, why not transform it into a delicious breakfast?
Sourdough discard adds a unique tangy flavor to the pancakes, setting them apart from the usual mix.
It also boosts their nutritional profile.
Sourdough fermentation breaks down gluten, making it easier to digest, and increases the availability of nutrients like folate, antioxidants, and essential minerals.
For those of us aiming to make healthier choices for our families, this is a significant benefit.
How to Perfectly Meal Prep and Store These Pancakes
When it comes to meal prepping, these pancakes are incredibly convenient.
Here’s how you can make a batch and store them for those busy mornings:
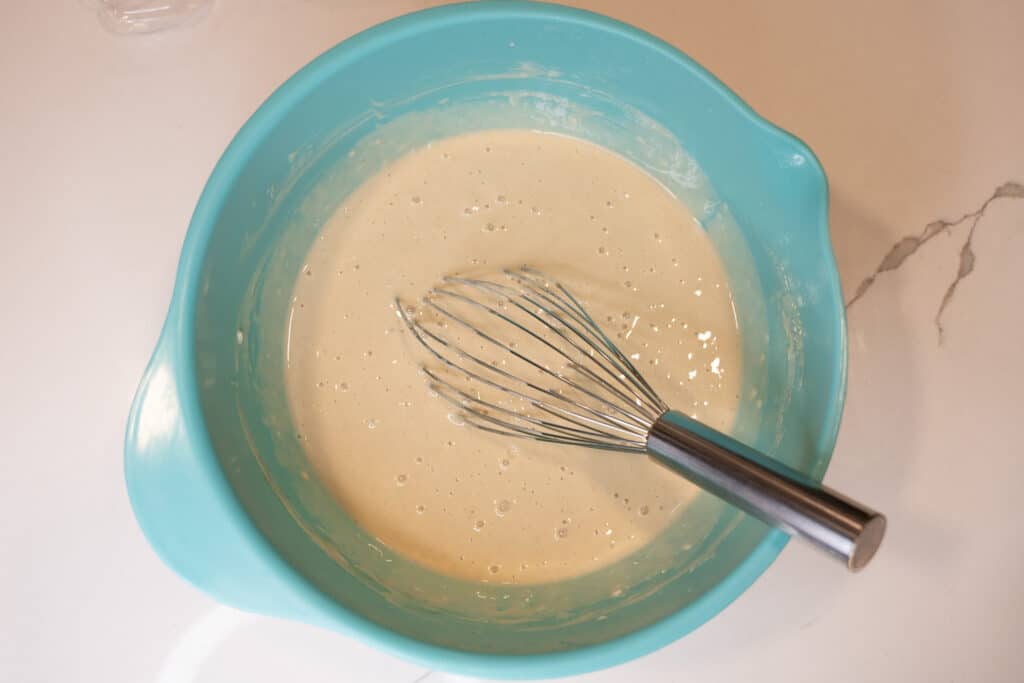
Prepare the Pancakes: Start by mixing 1 1/2 cups all purpose flour, 2 T honey, 1/2 tsp salt, 2 tsp baking powder, 1 tsp baking soda, 1 cup of sourdough discard, 2 large eggs, 1 cup milk, 3 T melted butter.
For a fluffier texture, don’t skip on the baking powder.
Heat a skillet over medium heat, grease it lightly, and pour the batter in small circles.
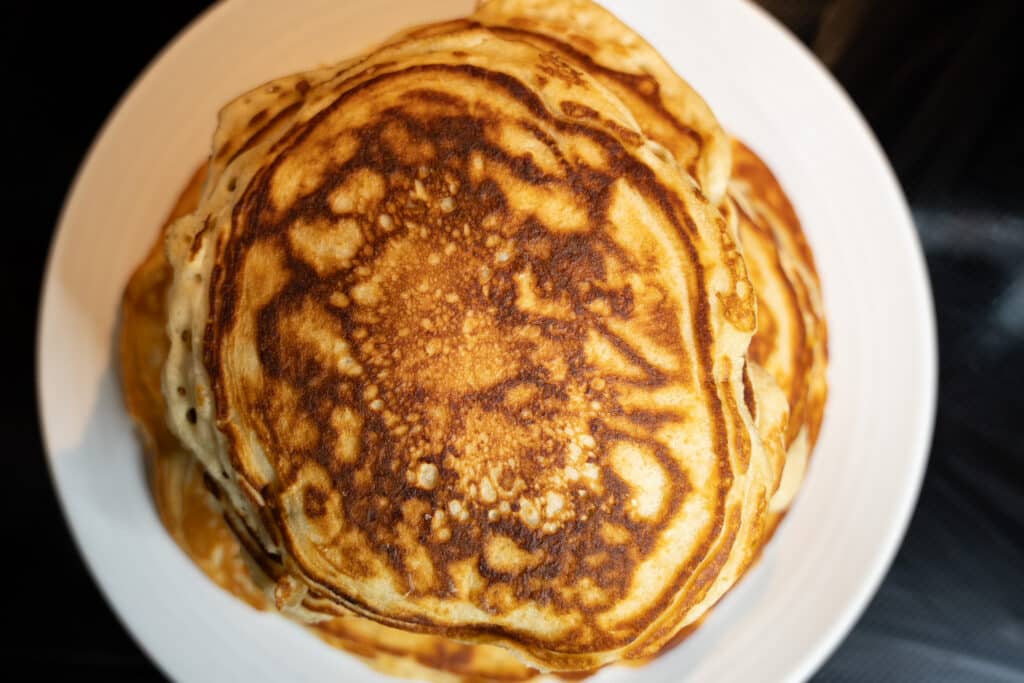
Cook until bubbles form on the surface, then flip and cook until golden brown.
Cool Completely: Once cooked, allow the pancakes to cool completely on a wire rack.
This prevents them from becoming soggy when stored.
Storing in the Fridge: Place the cooled pancakes in an airtight container.
They’ll stay fresh in the fridge for up to 4 days.
To reheat, simply pop them in the microwave or toaster.
Freezing for Longer Storage: For longer storage, arrange the cooled pancakes in a single layer on a baking sheet and freeze until solid.
Then, transfer them to a freezer-safe bag or container, separating layers with parchment paper.
They can be frozen for up to a month. Reheat directly from frozen in the toaster or microwave.
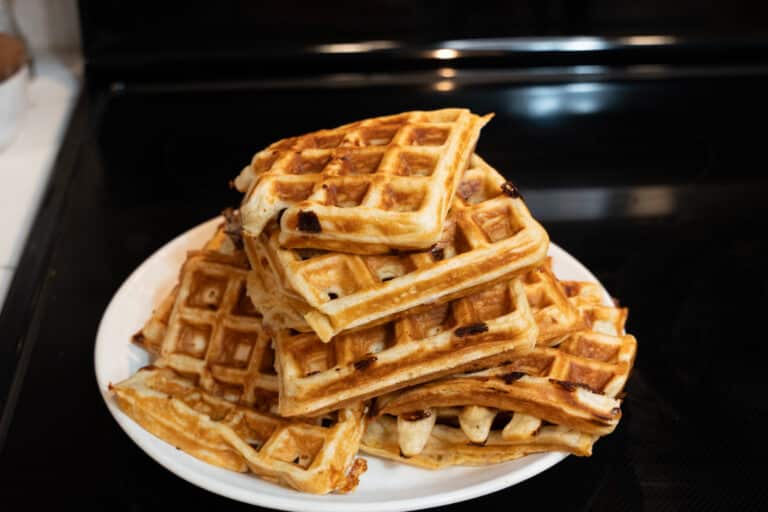
Making Waffles from the Same Batter
If your family prefers waffles, this sourdough discard batter works beautifully for that too. Simply follow the same recipe but add an additional tablespoon of melted butter to the batter.
This helps achieve that crispy exterior and fluffy interior that makes waffles so delightful. Pour the batter into a preheated waffle maker and cook according to the manufacturer’s instructions.
Health Benefits of Sourdough
Sourdough isn’t just delicious; it’s also packed with health benefits.
The fermentation process breaks down phytic acid, which can inhibit the absorption of minerals like iron and zinc.
This makes sourdough products more nutritious than their non-fermented counterparts.
Additionally, the natural probiotics present in sourdough can promote a healthy gut microbiome, aiding digestion and overall gut health.
Baking Soda vs. Baking Powder in Pancakes
When making pancakes, understanding the role of leavening agents like baking soda and baking powder is crucial.
Baking soda, or sodium bicarbonate, requires an acid to activate it.
In pancake batter, this could be buttermilk, yogurt, or sourdough discard, which provides the necessary acidity.
When activated, baking soda helps the pancakes rise and become fluffy.
Baking powder, on the other hand, is a combination of baking soda, an acid, and a moisture absorber.
It’s double-acting, meaning it reacts once when mixed with wet ingredients and again when exposed to heat.
This dual action helps pancakes rise even more, creating a lighter and airier texture.
For our sourdough discard pancakes, adding baking powder ensures they turn out perfectly fluffy.
Sourdough discard pancakes are a fantastic solution for busy moms who want to serve their families a healthy, delicious breakfast without spending hours in the kitchen.
They’re easy to make, store well, and offer a nutritious start to the day.
By incorporating them into your meal prep routine, you can save time and reduce food waste, all while enjoying the unique flavors and health benefits of sourdough.
So next time you’re about to toss that sourdough discard, think again.
Whip up a batch of these pancakes or waffles, and watch your family devour them with delight.
Breakfast has never been this easy, healthy, and satisfying!
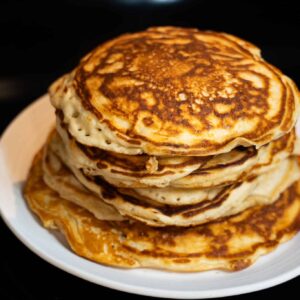
Sourdough Discard Pancakes
Ingredients
- 1½ cups All purpose flour
- 2 T Honey
- ½ tsp salt
- 1 tsp baking soda
- 2 tsp baking powder
- 1 cup Sourdough Discard
- 2 large eggs
- 1 cup milk
- 3 T melted butter
Instructions
- Prepare the Ingredients: Gather all your ingredients and have them measured out and ready to go.
- Mix Dry Ingredients: In a large mixing bowl, combine flour, sugar, baking powder, baking soda, and salt. Mix well.
- Combine Wet Ingredients: In a separate bowl, whisk together sourdough discard, milk, and eggs until fully combined.
- Mix Wet and Dry Ingredients: Pour the wet ingredients into the bowl with the dry ingredients. Gently mix until just combined. Be careful not to overmix; it's okay if there are a few lumps.
- Preheat the Skillet: Heat a skillet or griddle over medium heat. Lightly grease with butter or cooking spray.
- Cook the Pancakes: Pour about 1/4 -1/2 cup of batter onto the skillet for each pancake. Cook until bubbles form on the surface and the edges look set, about 2-3 minutes.
- Flip the pancakes and cook for an additional 2-3 minutes until golden brown and cooked through.
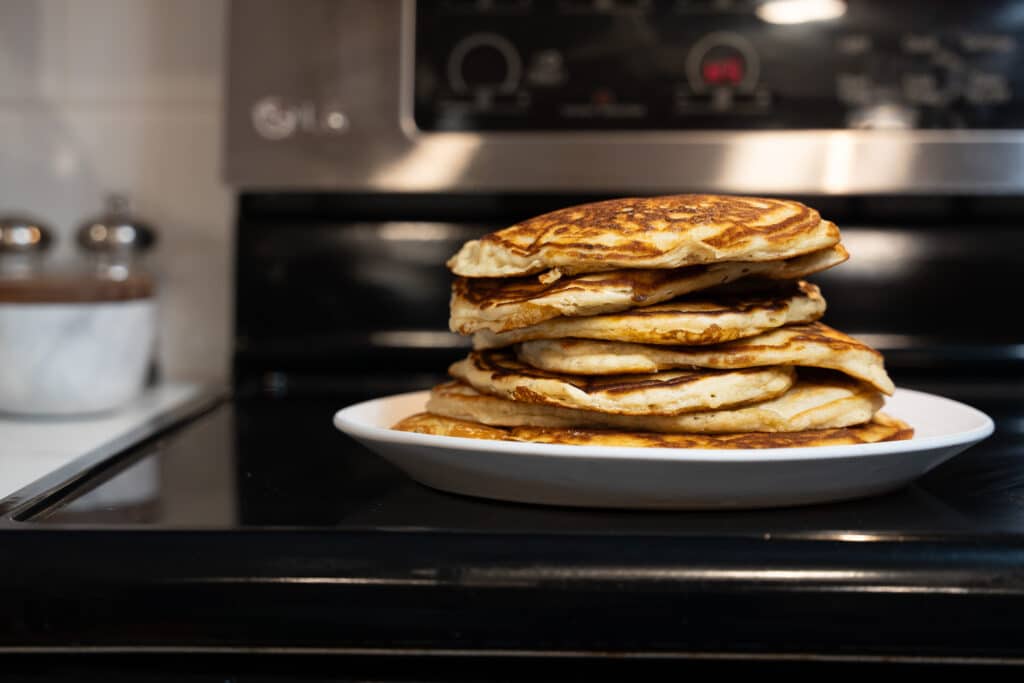
- Keep Warm: Transfer the cooked pancakes to a plate and keep warm. Repeat the cooking process with the remaining batter, greasing the skillet as needed.
- Serve the pancakes warm with your favorite toppings such as maple syrup, fresh berries, or peanut butter.
Nutrition
Tried this recipe for yourself? Leave a comment and photos below!
Follow on Instagram, Facebook, Pinterest, and YouTube
Nutrition Disclaimer: Our Family Cooks is not a dietitian or nutritionist, and any nutritional information shared is an estimate. If calorie count and other nutritional values are important to you, we recommend running the ingredients through whichever online nutritional calculator you prefer. Calories and other nutritional values can vary quite a bit depending on which brands were used.

2 Comments